
This Subnautica 2 beginners guide covers your first hours: choose Survival or Creative, touch the Angel Comb in Sleep Bay 3 to gain Pressure Tolerance, ride the Lifepod to the surface, then keep oxygen, food and water topped up while you scan fragments for blueprints. Craft a Survival Multitool and a Scanner, unlock the Habitat Builder, and build a small powered base with a Fabricator and a Biobed so you reprint close to where you work.
This Subnautica 2 guide for beginners draws on the official Subnautica 2 Wiki and Unknown Worlds' patch notes as of Buddy System Hotfix 2 (October 6, 2026). The game has been in Early Access since May 14, 2026, so recipes, locations and balance can change in later updates. It's a sourced guide, not a hands-on test; depths and coordinates are as listed on the official wiki.
01
Survival or Creative: choose before you dive
You choose the mode when you create a save, and it can't be changed later; in co-op it applies to every player. In Survival you manage oxygen, food, water and health, hunt for blueprints left by earlier pioneers, gather resources from across the map and keep tools and bases powered.
Creative has no survival meters, unlocks every blueprint and all Adaptations, makes crafting free, removes energy needs and vehicle damage from pressure or impacts, and stops hostile creatures from attacking. You start with a Scanner, Habitat Builder and Survival Multitool, but databank entries aren't unlocked automatically. Hardcore permadeath isn't in Subnautica 2 yet. Pick Survival to unlock blueprints, adaptations and the story as you explore.
02
Your first minutes: Sleep Bay 3, the Angel Comb and the Lifepod
You wake in Sleep Bay 3, a broken section of the colony ship Cicada lying in a pit about 580 m down, just southwest of where the Lifepod surfaces. NoA, the ship's AI, has you download its image to your PDA and opens the adaptation chamber. You take slow damage until you adapt, and you can't leave the bay without doing so.
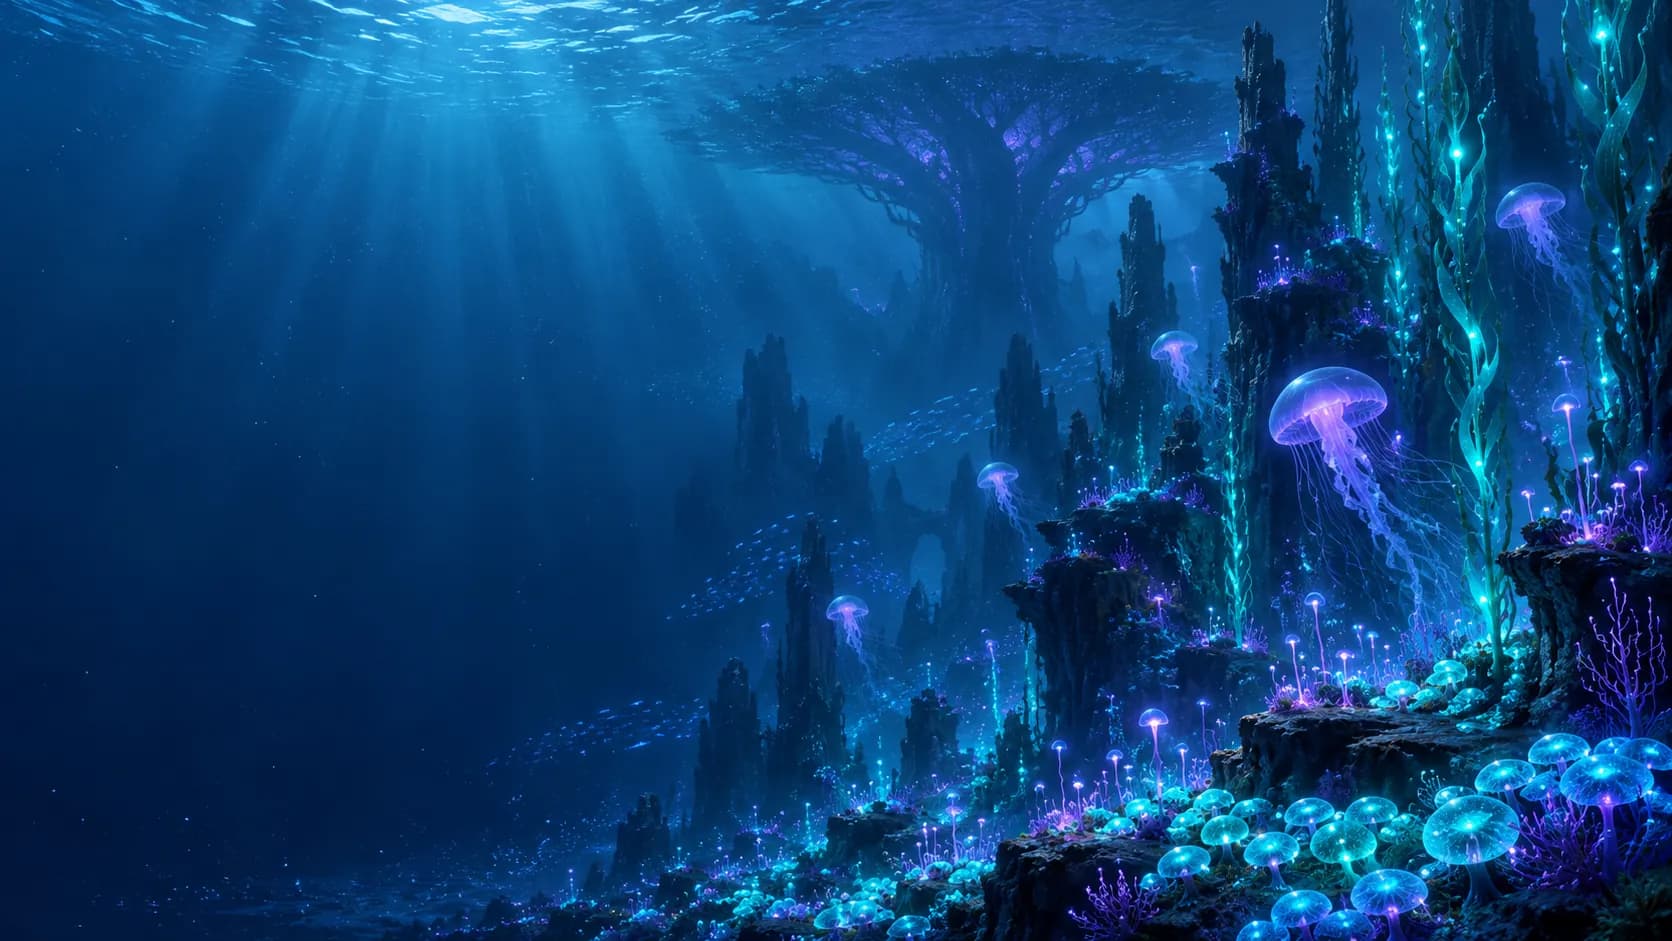
Inside the chamber is the core of an Angel Comb. Interact with it to gain Pressure Tolerance, the first Adaptation; this comb isn't infected, so there's nothing to clear first. Then take NoA to the Lifepod and launch. After a rough ride you splash down in the Shallows, with the World Tree on the horizon.
The Lifepod is your first home: a Biobed (your default reprint point), a NoA Terminal, a 35-slot locker with a Basic First Aid Kit and three Nutrient Blocks, and a corrupted Fabricator that can't make every recipe. NoA's Survival Guide databank entry is the closest thing to official Subnautica 2 beginner tips: sync with a Biobed, pin basics such as the Survival Multitool and flares, gather copper, quartz and titanium, find water and food you can digest, make batteries and a Scanner, scan everything, craft fins and an air tank, then build a Habitat Builder.
03
Oxygen, food, water and health
If you remember only one of these Subnautica 2 tips for beginners, make it this: watch your oxygen. You start with 45 units, shown at the bottom left, and the PDA warns you at 30 and again at 10. You burn it faster the deeper you go (exact rates differ between wiki pages), and a Rebreather cancels that penalty. Surfacing refills you, as do powered seabases and vehicles, Oxygen Tunic bubbles worth 30 units and leaking air tanks in old pioneer bases. A Standard Air Tank adds 30 units and the High Capacity Air Tank raises your total to 120; the oxygen guide has the details.
Food and water run from 0 to 100. In Survival you lose a point of water every 15 seconds and a point of food every 21 seconds, and at zero your health drains. Turn a Water Slug into Water (40 points) at the Fabricator, and cook fish there rather than eating them raw, since cooking adds nutrition and removes the dehydration penalty. Until you have the Digestion adaptation, eating alien lifeforms gives you nothing and costs health, so ration the Lifepod's Nutrient Blocks.
Health tops out at 100. Predators such as the Marrowbreach, defensive life like the Toxic Sponge, and hot water can all hurt you. A Basic First Aid Kit heals 50 and an Enhanced First Aid Kit heals 100.
04
Scanning, blueprints and Recipe Data Cards
The Scanner drives most of your progress, and you can craft it from the start. Its Basic Battery takes 2 Copper and an Acidic Raion Pouch, which you cut from an Acid Raion with the Survival Multitool. Aim and hold to scan; most scans take about five seconds. While you hold the Scanner, unscanned fragments glow faint blue and its radar marks nearby unscanned objects with yellow dots.
Some blueprints need several fragments: two for the Habitat Builder, three for the Tadpole. Recipe Data Cards in wrecks and abandoned seabases unlock a blueprint or a Scanner Station upgrade at once, or give you a Titanium if you already own it. Right-click a recipe in the PDA's blueprints tab to pin it to your HUD.
05
First tools and crafts
Core early recipes, as listed on the official wiki:
| Item | Made at | Ingredients | How you unlock it |
|---|---|---|---|
| Survival Multitool | Fabricator | 3 Titanium | Available from the start |
| Basic Battery | Fabricator | 2 Copper, 1 Acidic Raion Pouch | Available from the start |
| Scanner | Fabricator | 2 Titanium, 2 Quartz, 1 Basic Battery | Available from the start |
| Standard Air Tank | Fabricator | 2 Titanium, 1 Rubber, 2 Silver | Available from the start |
| Habitat Builder | Fabricator | 2 Titanium, 1 Glass, 1 Basic Battery, 1 Copper Wire | Scan 2 fragments |
| Fabricator (for your base) | Habitat Builder | 1 Titanium, 1 Copper, 1 Quartz | Comes with the Habitat Builder blueprint |
| Solar Panel | Habitat Builder | 1 Titanium, 2 Quartz | Comes with the Habitat Builder blueprint |
| Biobed | Habitat Builder | 3 Titanium, 1 Glass, 1 Copper Wire | Scan a Biobed in a pioneer base or wreck |
Glass is 2 Quartz, Copper Wire is 2 Copper and Rubber is 2 Lucifer Rotsacs, all made at the Fabricator, which also turns loose Metal Salvage into Titanium. The Survival Multitool can't hurt creatures, but it cuts Feather Kelp and Dragon's Scale Coral, breaks small resource nodes in one hit instead of three and drives attackers off. For Habitat Builder fragments, start at the Welcome Center: the wiki lists one outside it at -332463, 441167 @ 9m and one beneath it at -332234, 440089 @ 16m.
06
Build a first base and set your Biobed
The Welcome Center, about 75 m southeast of the Lifepod at 10 m depth, is worth an early visit. Put a Basic Battery into its power terminal to wake its NoA unit and Biolab. NoA plays a log from Mantis, the colony's lead diver, that doubles as a starter plan: gather titanium, quartz and copper, build a Corridor, top it with a Solar Panel because a base needs power to make air, add a Hatch, then build lockers and a Fabricator inside. Later, add a Room for a Biobed, Processor and Scanner Station.
Build your first piece on or near the ground. A seabase only makes oxygen while it has energy, and Solar Panels only produce power above 200 m, less at night. Once you have the Biobed blueprint, build one and assign it as your reprint point instead of the Lifepod. When you die, some inventory items (not your hotbar) stay behind in a blackbox where you fell, and you reprint at that Biobed. The Buddy System update added co-op revives, so a friend can get you back up with your equipment before you reprint. If an Early Access bug breaks a base, the pause menu has a Refund Bases option.
07
Early resources and where to look
You start in the Shallows, part of the Coral Gardens region on the west side of the map. It's the shallowest region and has the fewest aggressive creatures, though the Marrowbreach and Nibbler Mango still live there. The wiki lists titanium, copper, quartz, silver, Metal Salvage, Acidic Raion Pouches, Lucifer Rotsacs and Medical Gel Sacs in the Shallows, with Oxygen Tunics in its caves.
| Early biome | Depth range on the wiki | Useful resources |
|---|---|---|
| Shallows | up to 224 m | Titanium, Copper, Quartz, Acidic Raion Pouch, Lucifer Rotsac, Water Slug |
| Plateaus | 23 to 119 m | Titanium, Copper, Quartz, Silver, Cherimoya Rotsac |
| Lead Zone | 34 to 65 m | Lead, Titanium, Copper, Quartz |
| Necrolei Hills | 0 to 100 m | Titanium, Copper, Silver, Quartz, Necrolei Cyst, Water Slug |
| Dolerite Spires | 0 to 128 m | Lithium, Titanium, Copper, Quartz, Silver |
For every material and where it spawns, see the resources guide.
08
Biomods: optional upgrades
Biomods are optional, removable upgrades modeled on the survival tricks of local creatures, while Adaptations are permanent and required for progress. You equip biomods at a Biolab, like the one in the Welcome Center, starting with one active and one passive slot; Dash and Pathfinder (active) and Sea Skimmer and Oxygen Control (passive) are unlocked by default. Since the Adaptive Measures update, six biomods can be unlocked from Biolabs around the world, and extra passive slots open up as you bio-scan creatures with the Bioscanner (at 10, 20, 40 and 80 scans). The Bioscanner comes much later, so for now use the Welcome Center's Biolab.
09
Your next goals
Next, chase the other early Adaptations, covered in the adaptations guide. Digestion comes from an uninfected Angel Comb in the Shallows at about 10 m, roughly 160 m from the Lifepod; NoA's signal for a pioneer's blackbox leads you there. Heat Tolerance needs a Sonic Resonator to destroy the Bloom Cankers on two Bloom Nodes, one beneath the Spider Dome and one near Hills Wreck 1, and then those around the Angel Comb in a 60 m cave on the edge of the Shallows.
Then work toward the Tadpole submersible: scan three fragments, build a Moonpool and Vehicle Fabricator, and craft it from Titanium Ingots (made in a Processor), Glass, a System Chip and a Power Cell. It supplies oxygen while powered and dives to 250 m without upgrades, or 450 m with the Depth Module Mk. 1. The Tadpole guide covers the build, and the walkthrough picks up the story.